
How to Glue Wood for Creative Home Decor DIYs
Wood is a great substrate to use on your home dcor DIYs it's versatile, inexpensive, and super sturdy! Wood-based projects can be intimidating to try, but before you break out the toolbox full of nails and screws, learn how to glue wood with these wooden DIYs. Aleene's has a variety of adhesives that work with wood; read on and learn how to glue wood for creative home dcor DIYs!
1. How to glue wood to glass: DIY cactus terrariums
Are you into indoor gardening? This home dcor DIY will help you add a touch of greenery to your space! Learn how to glue wood to glass with this DIY cactus terrarium tutorial.
Measure and cut strips of balsa wood to frame some square glass vases. Sand and stain your wood, if desired. Once dry, apply a moderate amount of Aleene's Glass & Bead Adhesive to the back of each piece of wood. Press firmly into place, framing each side of the vase. Allow to dry completely for at least 24 hours. Fill with rocks, moss, and soil, then plant your cacti to start your succulent indoor garden!
2. How to glue wood to metal: DIY triangle shelves It's easy to learn how to glue wood to make your own shelves! These geometric triangle shelves combine wood and metal for a rustic-meets-modern take on home dcor. Pre-made shelves like this might run you a pretty penny in stores, but making them yourself is a great way to save on expenses!
To form each triangle shelf, cut 3 pieces of 2x4 pine boards into 11 5/8", 12" and 13 1/8", with each end cut at a 30-degree angle. Sand the edges of your wood, then apply Aleene's Wood Glue to the end of each piece, forming a triangle. Allow to cure for 24 hours. Once the glue has dried, you can stain the wood with your desired color.
Measure and cut a decorative metal sheet for the backing on your shelves. Apply a generous amount of The Ultimate Multi-Surface Adhesive to the back of the shelf, then press the metal into place. Allow to dry completely, then your DIY shelves are ready to display!
3. How to glue wood to wood: DIY starburst mirror
Try this wooden dcor DIY to create an eye-catching statement piece for your home! This tutorial will show you how to glue wood together with Aleene's Wood Glue to create a beautiful DIY sunburst mirror.
To start on this DIY, paint your wood shims in your desired colors. Once the shims have dried, start forming the sections of your starburst, applying Aleene's Wood Glue to each piece. Set 5 shims together for your first set of sections; the middle will the tallest and flanked by 2 shorter and then 2 shorter still. Tape each set together with masking tape and set aside to dry completely.
Continue building larger sections by attaching sections together with more wood glue, and tape. Allow the sections to dry completely. Once these larger sections are made, glue them all together to form a circular starburst shape. Flip your project over, then glue a piece of circular wood to the back side to help brace your mirror. Place something heavy on top and allow to dry overnight. Next, glue a second wooden circle onto the front side and allow to dry.
Apply wood stain to your project, if desired. Finally, glue the mirror to the center of your starburst with The Ultimate Multi-Surface Adhesive and allow to dry before adding any hardware. Display your DIY sunburst mirror and admire your hard work!
4. How to glue wood to wood: DIY wooden crate
 A simple DIY wood crate is a great way to store toys, books, supplies, and more! These wood crates are perfect for indoor and outdoor storage, and you don't need a hammer and nails to build them just a few 2x4's and Aleene's Wood Glue! Learn how to glue wood together to create a simple storage crate with this quick tutorial.
Apply wood glue to unpainted or stained surfaces of clean, dry wood. Remove any excess glue with a damp cloth. Press or clamp together for approximately 30 minutes and allow to dry for 24 hours. Once the glue is dry and the crate is sturdy, you can paint or stain the crate however you'd like to make it your own!
5. How to glue wood to wood: DIY mod dot frame

Take a plain frame to a whole new dimension with wood discs and Aleene's Wood Fusion adhesive. Apply a pop of colorful paint and you'll have a pretty display you can DIY in minutes for your favorite spot! Learn how to glue wood to wood with this easy tutorial.
Add a dot of Aleene's Wood Fusion to the back of each wood disc. Press into place, layering the discs as you go. Do as many as you want and fill the entire frame, or just do a few arrangements on the corners. Once dry, apply paint to your finished frame. Apply a first coat and let dry, then go back and add a second coat and make any touch-ups. Place your favorite photo, drawing, or artwork in the frame and display your DIY picture frame!
6. How to glue wooden letters on a sign: DIY heart sign Looking for a pretty DIY project to display around the house? This simple and chic wood sign is a classic look that you can make with just a few materials! Learn how to glue wood together and create elegant wooden signage with this easy tutorial.
Use a foam brush to coat the front and back of your sign with white acrylic paint. Let dry, then add a second coat of paint if desired. Use gold paint to paint your letters and let dry. Apply a generous Aleene's Wood Fusion to the back of each letter for a super strong hold. Press each letter down on the sign and let set until dry. When finished, hang your DIY heart sign with twine or ribbon and adorn with moss or other foliage for a natural rustic touch!
7. How to glue wood to fabric: DIY No-Sew Pet Canopy Our furry family members need shady spaces just as much as we do! Check out this tutorial on how to glue wood and fabric to create a no-sew pet canopy. This pet project is easy to make with Aleene's Wood Glue and Fabric Fusion Tape. Your pup will have it made in the shade in no time!
To create this no-sew pet canopy, start by building the frame from wooden dowels. Cut the dowels to the measurements you need for the size of your pet canopy. Sand all edges and corners for a smooth surface, then use Wood Glue to glue the pieces together.
Measure the outside of your frame to determine the length of fabric you need for your canopy. First measure the length of one of the rooftop angled pieces, then the length of one of the vertical pieces, and multiply by 2 (for both sides of the structure). Then add an additional 10 (5 for each side) for wrapping the fabric around the base and securing. For the width of the fabric, simply measure the depth of your frame, and add a few inches for creating hems. Iron your fabric and cut it to match the total of your measurements.
Next, hem the fabric using Fabric Fusion Tape. Place your fabric wrong side up, and fold over each side along the length once, then again (about an inch) for clean edges. Unfold the sides once (so you still have a clean, folded outer edge) and run a line of Fabric Tape along the length and remove the top liner. Fold the edge of the fabric back over and press in place on top of the Fabric Tape to secure. Finally, fold the hem over the top of the frame base and press in place on the Fabric Tape to secure. Do this on both sides to finish your no-sew pet canopy!
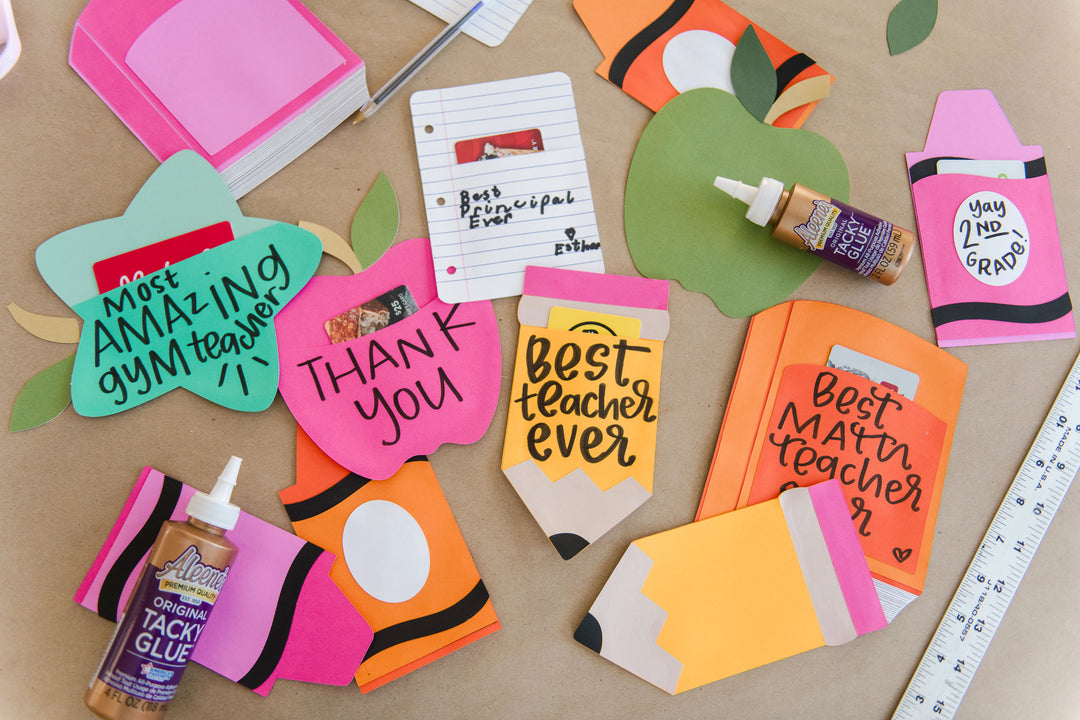
8. How to glue paper & photos to wood: DIY Photo Coasters A set of wooden photo coasters with your favorite memories makes a great gift for any occasion! Learn how to glue paper and photos to wood with this simple tutorial.
Print out your favorite photos and cut each photo out in a shape that matches your wooden coaster. Use Tacky Glue to set each photo to the center of a coaster, then seal your project with more Tacky Glue! Squeeze the glue onto the photo coaster and use a foam brush to smooth it over the entire top of the coaster, making sure to cover all exposed areas. Since Tacky Glue dries clear, you'll have a nice seal to protect the photos once the glue dries!
9. How to glue wood appliques to home dcor: DIY Vintage-Inspired Mirror

Large vintage mirrors may be priced for hundreds or even thousands of dollars, but you can make similar styles yourself for a fraction of the price! Learn how to glue wood appliques to your home dcor to create an elegant, vintage-inspired mirror!
Before you get started on your project, thoroughly clean your upcycled mirror from any dust and debris. Use Aleene's Wood Glue to secure the wood appliques to the corners and top of the mirror's frame. Allow to dry fully for at least 24 hours.
Cover the surface of the mirror and use masking tape along the edges to avoid overspray. In a well-ventilated area, spray the mirror's frame with several light coats of spray paint, letting dry between coats. Once the spray paint has cured for 24 hours, remove the surface cover and masking tape from your mirror. Find a nice spot in your home to display your new custom dcor!
10. How to glue faux fur to wood: DIY Upholstered Bench Furry benches are the perfect blend of chic style and soft, cozy vibes! But they can also be expensive, which is why you should check out this tutorial on how to glue faux fur to wood to create a DIY upholstered bench. This no-sew project can be customized to fit perfectly with your home and style!
If you have an old wooden bench or snagged one at a yard sale or discount store, you are already ahead of the game! You can also easily and affordably make your own using a 2 x 4 and a piece of plywood. Cut your fabric, foam, and batting. The foam should be the exact size of your bench seat, while the fabric and batting should be at least 2 inches longer so you can wrap it underneath.
Add a thin line of Aleene's DIY Craft Fabric & Vinyl Adhesive around the top edge of your wooden bench, and a few lines in the middle. Press and smooth the foam in place on top of the glue. Layer your batting, then the furry fabric on top of the foam on your bench. For an easier time securing the layers of fabric, flip your bench over and make sure it's centered on the fabric. Add glue around the perimeter of the underside of the seat and press the batting and furry fabric in place. Use a few staples on each edge to help hold the fabric taut while the glue dries. Once the glue has dried completely, your DIY upholstered bench is ready decorate your space!
Now that you know how to glue wood, it's time to build some wooden DIY home dcor! Remember to post your projects on social media and tag us @AleenesDIY! Looking for a little more inspiration? Check out these links to help you get started on your next DIY!